Life story - the short version


I'm a fun loving 30 something year old . Married my favourite guy. Started on my production of children & number 1 is an adorable boy. Big on family. Big on craft. Love country music. Love fuss free + practical ...aaand maybe with just a little bow for decoration!

Love the law of attraction too. And singing ...dancing ...bright colours and excessive punctuation ...and stationery.

Tuesday, May 29, 2012

The FMQ tip that noone tells you

I intended on blogging this a while ago, but I kept forgetting to share my secret with you.

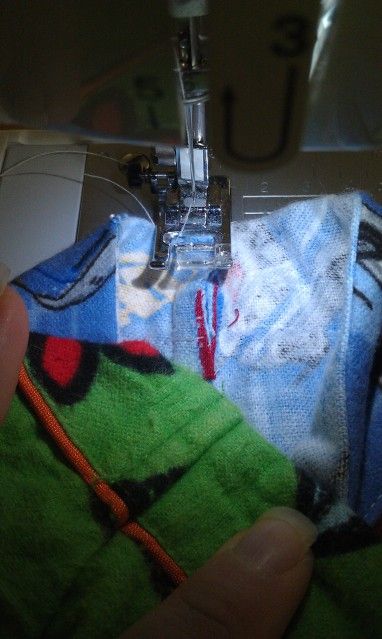
Now, I AM NO professional, and my free motion quilting (FMQ) still needs plenty of practice before I go giving out other tips, but when I began using MS paint to draw with the mouse at about 5 or 6 years old*, I quickly realised something:
I had better control whilst drawing in one direction than another. I mean for example, from top left to bottom right is easier to control than trying to click and drag from bottom right to top left.
So where possible when drawing, you'll get better results if you begin at your best point and end at the other end.

I believe this principle can be useful when FMQ because you're going to find you're better with some directions than you are with others.
It might not have to do with how your palm sits on the mousepad, but it may have to do with being able to see your quilt moving away from you, rather than guessing what shape you're making behind the needle.

I tend to have a think about this at three different times:

1. When nearing a corner or part that might stand out (near an edge or a centre)
2. When you've just stopped for a second to scratch your nose and you're about to restart
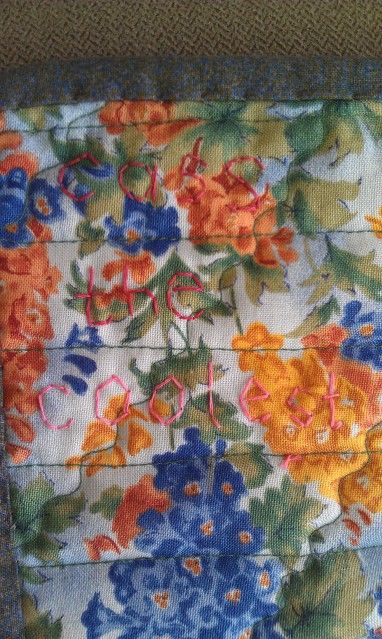
3. When choosing how your pattern will go. I mean, that chick on youtube smashed those shadowed hearts out like "nobody's business" but if you quilt them upside down (IE your whole quilt upside down so they end up the right way up) are you going to have better rounded peaks at the top and cut your losses with the points at the bottom being hard to visually follow?

Just a thought I wanted to share...

Have you come across this before? Have you discovered this yourself? What other rare tip have you heard?


*I remember computers BEFORE they had a mouse. Yes, really. The F1 - F12 keys were our saviour in Norton commander! Short live the 5" floppy hehe.

Liebster award (coz oim da favouriteist) + stash


The Liebster award (German for Favourite) is usually presented to smaller blogs as a form of recognition and support. 'Smaller blog' is one with 200 followers or less.

As a recipient, you are to:
1. Link back to the person who gave it to you and thank them.
2. Post the award to your blog.
3. Give the award to 5 bloggers with less than 200 followers that you appreciate and value.
4. Leave a comment on the 5 blogs to let them know that they have been offered this award.
Jan from Red shed quilting has kindly nominated me for the Liebster award. Thank you Jan!
I would like to nominate....

Bronwyn at Stop that owl
Ally at Quilting Mumma
Cassandra at Sleeping or Sewing
Danielle at Threads n Mess
Gemma at Pretty Bobbins

This is a list of girls whose blogs I genuinely enjoy following. Sorry if it's a bit of a pain that you are meant to repost, ladies, but I still like to give credit where credit is due all the same!

PS Here are the latest pictures Maribel took of the travelling stash. Sorry they're so small, they were this small when sent to me. It's with Lisa now and hopefully will land on Bronwyn's doorstep very soon!

Friday, May 25, 2012

Pulling out the archive projects


I've done all the machine sewing on my current project and decided to brave the incomplete project pile for something to jump into shortly.
I found this quilt I began when my son was born. But as you can see, I had plans to make it wider and didn't know how to tackle my half baked plan.
It was going to be a single bed size, so even though it's been collecting dust, I'm not that far behind schedule :-)


On another note, I realised I hadn't shared a nice photo of my bedrunner.


I fell in love with the tiger panel at Rosehill Craft Show when I saw it at the Barossa Quilt store stand. I had all these images of Peggy Bundy's ugly style, and a bunch of proverbial women on my shoulder saying "Really!?? Tiger print??!".
Nevertheless, I bought it.
...and I'm still stoked I did.
With this freezing weather it's piled on top of some totally mismatched quilts on my bed LOL but when it's not ice cold, it will complement my pretty plain bedroom.


I quilted it very minimally. I'm still new at free motion quilting and this was one of my show quilts, finished on the due day. I just did squares around the centre panel in black to secure it, then tried to follow the fur to quilt the tigers on each side.

Have you tried free motion quilting? How did u find it?

I wish I didn't do that line down the centre, but the rest I think I did really well.


posted from Bloggeroid

Wednesday, May 23, 2012

Wanna hear somthing funny?

Yay for me I got my new extension table!!
(...that's not the funny bit)

My little brother-in-law and his lovely girlfriend bought it for my birthday recently. Lincraft ordered it in, and said they would call him when it arrives.
Apparently I am well known at the local Lincraft (although I visit Spotlight and All about sewing more than Lincraft) because they were all "We're so sorry that Cass' table hasn't yet come in" and "Do you know Cass' rewards card number?.... It's ok, her last name is in here let me just search for her, yep points counted!"
I think it's hilarious because my brother in law relayed all this to my husband when he handed over my extension table. It's like they've only just found out I've got this huge penchant for sewing and who can believe Lincraft staff know who I am before my name is even mentioned LOL.
I think he must have been dealing with the girl I wrote a positive letter about after she sold me my beloved Brother NS20 (I wrote about it here) because she would probably remember my name, but I don't know about any of the other staff members.
My husband wasn't all that surprised to hear how well they know me, though hehehehe.

On my table today:
I've just finished one little 4 inch block (of five) which will be part of a wallhanging for Quilting Mumma's son's birthday

This was really fun (although I took the long way about it, dragging it out). I got to use up some batting scraps, and I have always loved that blue argyle fabric. Plus, who doesn't love stripy binding!
Found those super-suitable buttons in spotlight by chance, used my new genuine stippling foot to machine around the letters and am just loving it from start to finish :-)

Tuesday, May 22, 2012

Received with love! One mug rug


I was so chuffed to receive this gloriously cheerful package yesterday!
It's my return mug rug from Karen of sewmuchtolove blog and I really need to take a leaf out of her book for decorating my parcels!
Inside was a machine and hand quilted mug rug with beautiful bright colours reminding me to celebrate each day!


Karen said in the accompanying craft card that she thinks I have "such a positive outlook on life" and so this would suit me :-) what a compliment!!

I don't want to be predictable and ironic, but I can't help feel positively towards such a beautiful and thoughtful gift LOL.
Thanku Karen, it's simply beautiful & I really love it!

posted from Bloggeroid

Friday, May 18, 2012

The brown bag story


I'd bought this brown fabric, and aqua toned fabric in an 'anti-wrong-fabric-choice' rampage within the last year, intending to make a baby bag.
Here's my problem though. I have an awesome Kapoochi baby bag which has pockets for EVERYTHING including hidden ones (for secure items) I didn't even realise were there for 6 months! To make something adequate I would have to raise the bar SO high it became unattainable.

But now my son is over one year old, and I'm the only Mum I know still carrying around panadol, change mats, hats, spare clothes, and everything else, most places I go "just in case".

I'm one of those people who has always had a MacGyver handbag. You know, if I were stuck in an broken elevator I would probably have something suitable for opening the door, saving everyone on board the elevator and anyone in need of a pen or a nail file in the meantime.
So it's difficult for me to downgrade to a smaller bag.

I don't often fall in love with "handmade bags", and I instantly cringe at the word "tote" 'cause I'm simply wayyyy too cool for that... or at least that's some kind of left-brain/right-brain message happening in my life.

However, when I saw the reversible bag pattern in Stitch magazine (Summer 2012) I could picture it in my perfect fabric choices.

Despite having some ridiculously large metreage of this fabric, I cut into it and got started!
It began with this:

Which turned into the inside... (note the fabulous decorative stitching around the top, yes, leaves on leaves, it's so quaint and I *love* having decorative stitches!)


One day I'll add buttons, sure, but it's the first step to letting go of the baby bag.
What do you think?

Friday, May 11, 2012

A whole lotta progress goin' on


After sitting next to this delicious quilt on Saturday I simply couldn't resist the fabric so this is my new uncuttable.

I've been working on the second last block of my quilt "Happiness will surround you" by Lenora Jenkins.
Since the last block fabric has arrived, we don't have the impending 'next block arrival' to keep us on our toes. But I am going to be glad to see the finished product on my bed. We need something new this Winter, I say!

I sent over 2kg of my scraps to Kate of Kwilts by Kate today. She kindly paid for the satchel and I hope she gets something good out of it. Below is the best piece of scrap, and I warned her there were a lot of florals, but she's got a 3kg satchel full, so it might be ok


I've sent off my mug rugs from Quilting Mumma's swap, over the Pacific Ocean they go, and I hope the recipients like them.
This one is for Jennifer of That Girl That Quilt

On the back is "Cass The Coolest" (but quickly remembered how long it takes to embroider something & slapped myself for beginning it).


And this one is for Karen of sewmuch2luv and I got the idea from this pin of mine

Notice how great my corners are? I had always followed sewing instructions for corners which kept the needle down, previously.
I recently noticed in Australian Quilter's Companion that they said to start your corner stitching (after doing that foldy thing) right from the top edge. Of course I have the utmost respect for AQC magazine and I tried it. Well feel free to just scroll back to see the crappy corners on Jennifer's mug rug to see the process I'll never be following again!

I'm getting back into the Craftsy Block of the month again. I had intended to use the same fabric range throughout ("Make life" by Sweetwater) and sew all the blocks into a sampler quilt in the end if I don't run out of fabric.

It bothered me that the blocks don't all go together (some modern some traditional) but that's what irks me about samplers full stop, I prefer tesselation quilts. Anyway, I digress.
Here are all my blocks:
January:

February:

March:

And the second March block is still coming. I cut my "background squares" at 4 1/2 inches instead of 6 1/2 inches 'cause I wasn't paying enough atttention.
Thankfully I realised before any hard work went in though ....Never mind, this is how we sewists roll. At least I didn't have to unpick, see? There's ALWAYS a silver lining LOL.


And my Threads N Mess rainbow charm swap arrived today Yay!! If you haven't got yours, and don't want to see (a really dull crap) picture of the charms I warn you look away now.

Lucky it didn't burst any more than this, thanks to Danielle for a bit of stickytape inside to help hold the fabric piles tightly.

I'm going to make a bunch of starflower blocks with them :-D Thanks for joining me XO

Bummed after 'coming down' but also thankful for HobbySew

I try to make my blog posts positive, in fact I try to be positive in my life generally (always aiming for the feeling of relief, or the silver lining), but I just feel like sharing that I'm a bit bummed today.

After looking over my quilts and reflecting on the show, I regret not having the quilts completed earlier for the show.

I guess I had anticipated that the people hanging the quilts would try to flatten them a little. I understand they wouldn't have time to fiddle with every quilt, but my largest one was jammed into a pillowcase for the trip to the raceclub (by me), and still looked like that on Saturday when I went to see the exhibition :(
I take responsibility for giving it to them all scrunched, but these are things I guess you have to learn along the way.


I had looked for the timing for quilts to be submitted by, and couldn't see it, so decided I'd just do am much as I could til about 4pm and drop them in. I got phonecalls left right and centre at 230, saying the cut off time was 1pm and everyone's quilts are hung so where are mine!? Because my quilts were the last in, they hung my largest one with the tiger bedrunner behind it. That meant it didn't have a large one behind, to help straighten it with hanging.

I also feel pretty dumb for using what is apparently "craft wadding" bought from Spotlight for my large quilt. It says "Ultra fresh wadding" on the receipt, and all my other quilts have been quite lofty (except when I've used pellon) so I never would have known. I would have continued to use this if Jody hadn't let me know, so I know it's a blessing, no matter how disguised.

I really love my most modern quilt, but as I posted last week, it was so hard to go from the thickest wadding in town, to quilt lite which is like interfacing. Since it was my first try at this wadding I made some quilting mistakes and it just dampens that pretty quilt for me.

I'm embarrassed that those quilts were a representation of my standards to everyone at the show, when (in my opinion) I'm usually pretty careful and end up with a quality finish.

I guess when you throw yourself in the deep end you're going to learn lessons along the way. I never anticipated winning, I didn't even know what winners receive, and at least $7 from each quilt entry went to charity, plus my $6 entry too. I'll definitely take part in the show again next year, but I'll enter only quilts which are finished or MUCH closer to finished.

Thanks for listening to me whine, have you had a similar experience in the past?


I have just read a post on Quilt Club Australia on facebook reminding us about the Aussie Hero Quilts (and laundry bags) and I'm seriously thinking of donating my big green one. I'll ask Carol Lee when my son isn't in the mood to want to consistently reach for the computer's "off" switch, later.


PS On another note, we are lucky to have Spotlight down the road, Lincraft just opened another store locally about 6 months ago, and I just visited Erina's HobbySew store yesterday.

They stock the genuine accessories for my machine, so I have a genuine walking foot and stippling foot coming to me for Mother's Day woohoo! I was really impressed that they stock moda and kona fabrics, and will definitely be popping back in! I could have spent a million dollars yesterday there was a lot of fabric I hadn't seen before. Including Monkey Minkee which even sounds cute when you say it LOL.

I felt they were aimed mostly at quilting (fabrics) and stocked the rest of the store with notions, machines, and parts, which I am really thankful for.
Thanks Hobbysew, until next time!

Sunday, May 6, 2012

Quilty Weekend to love!

What a weekend! Craft day Friday, Central Coast Quilt and Craft fair Saturday, Sunday morning quilts today!
Friday saw my Aunty and Sister in law visit for the purpose of crafting, destressing, connecting, and good old fashioned women gaining from being together. We like to call it craft day. Of course, as with all my sewing compadres, much of it is not really about sewing, but connecting.
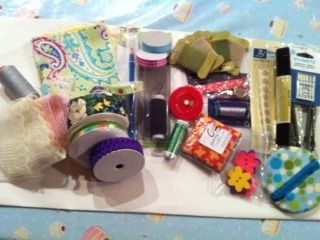
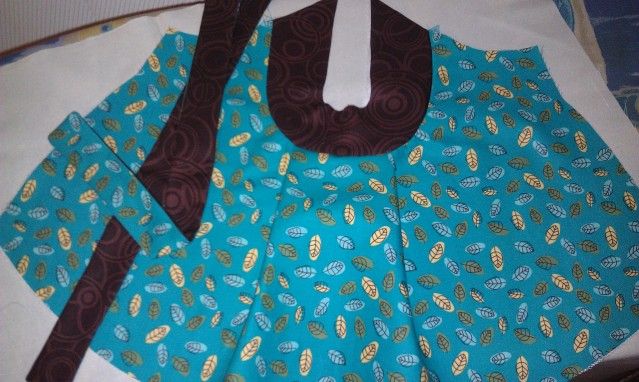
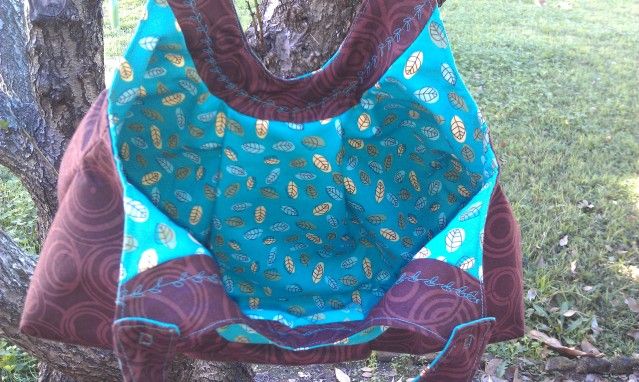
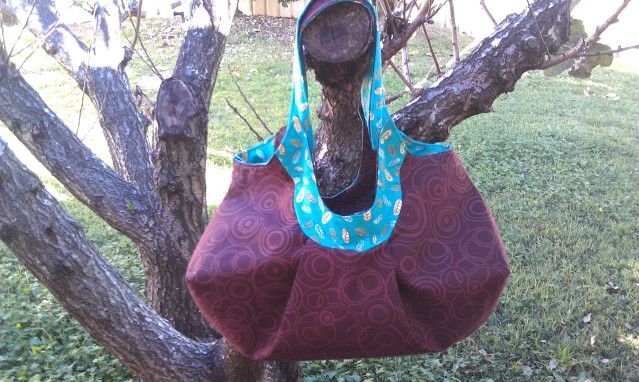
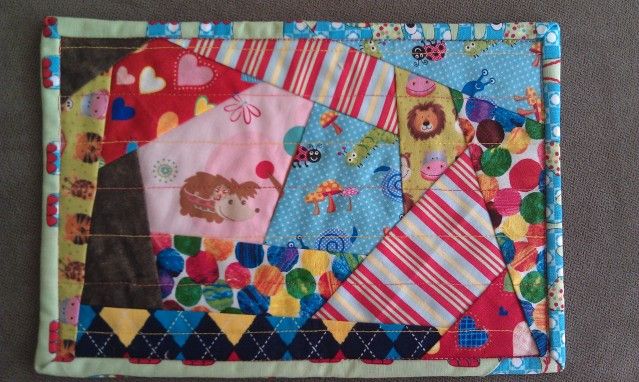
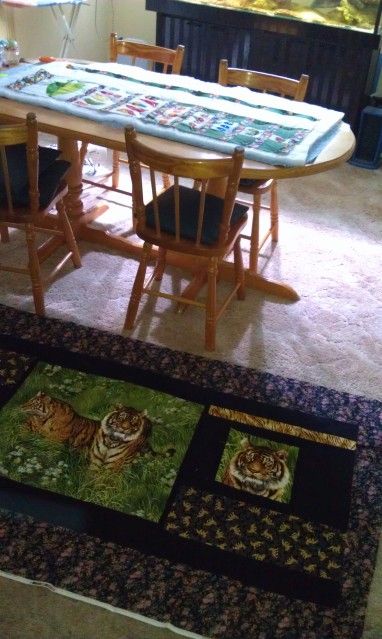
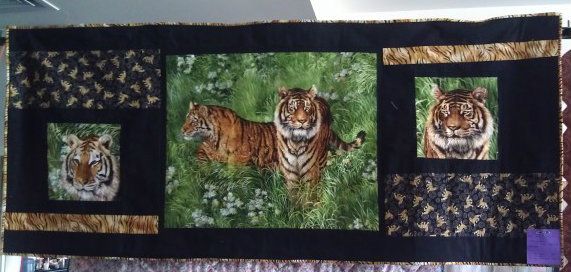
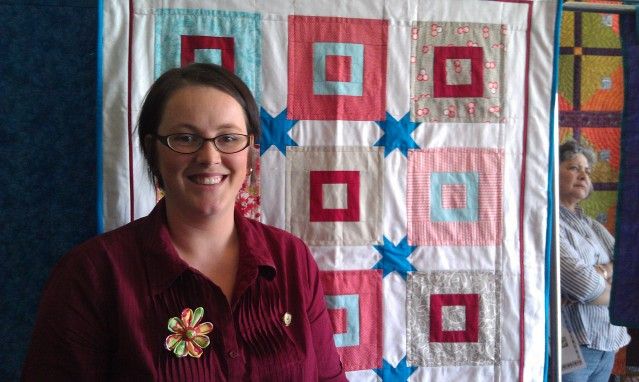
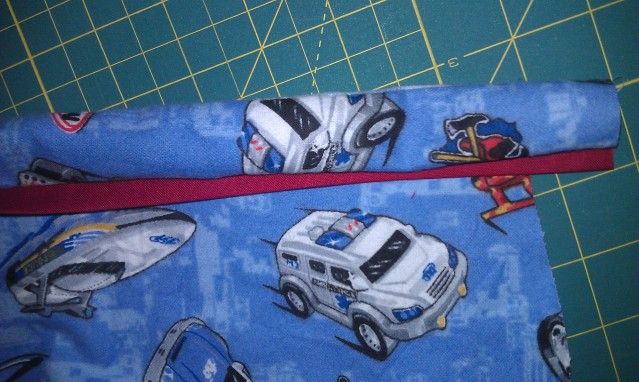
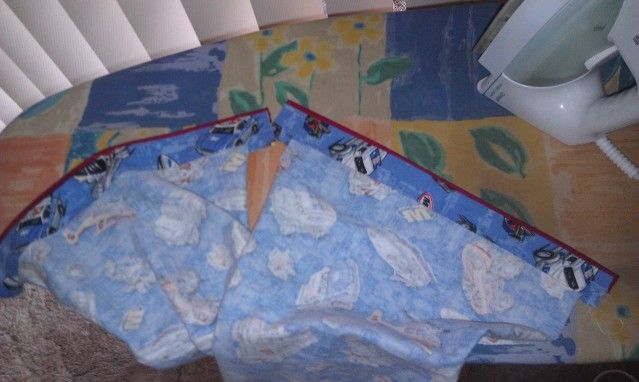
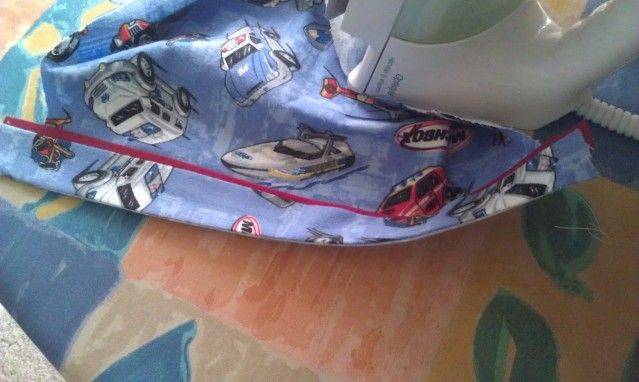
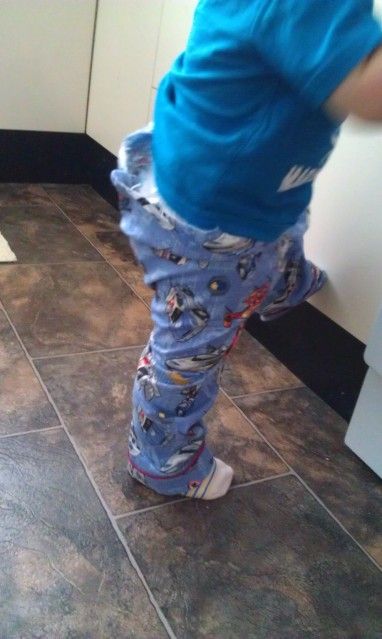
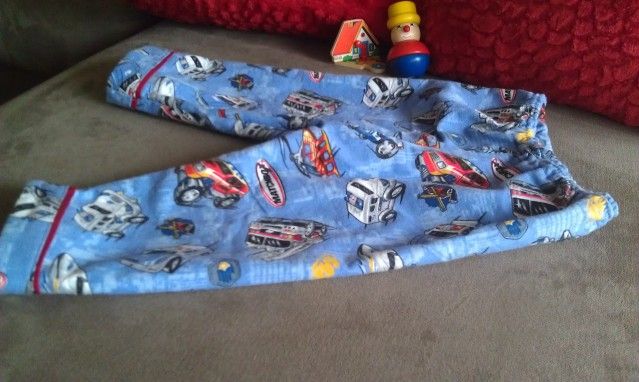
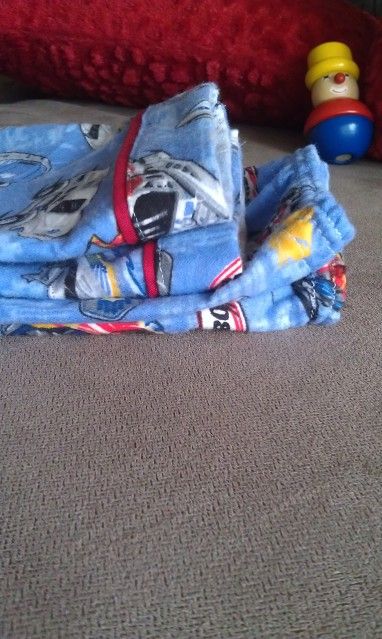
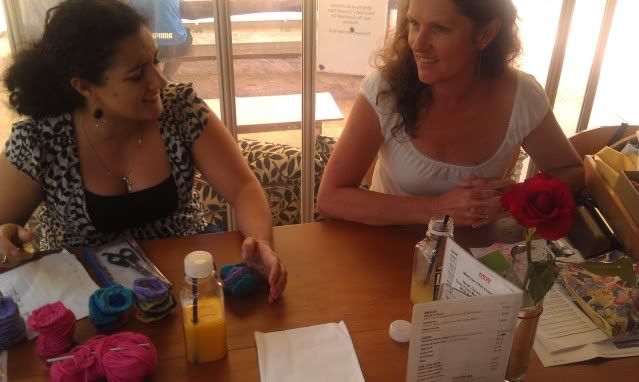
This is them, on a previous craft day
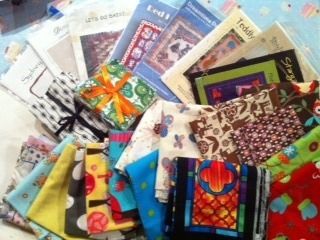
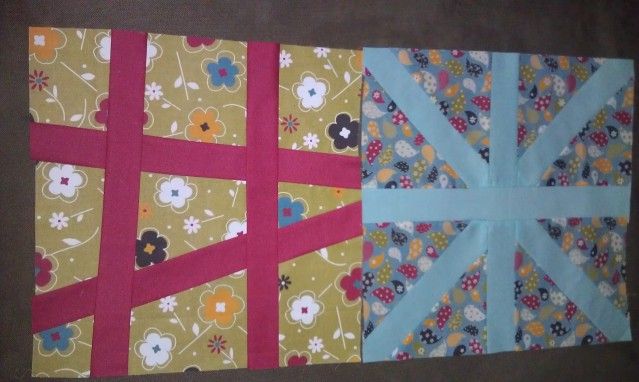
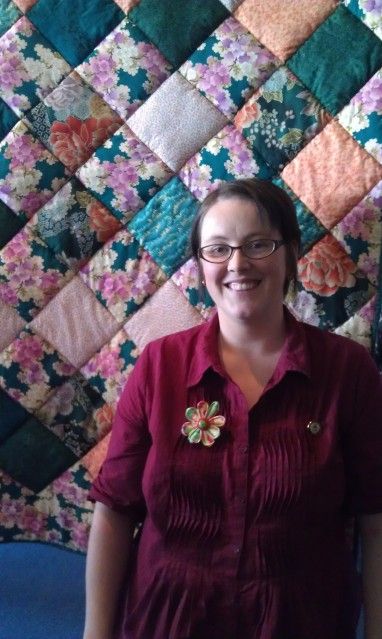
Saturday I was so excited to be a part of the quilt show! It the first time I’ve exhibited some quilts. I wasn’t hugely proud of the largest one, there were mistakes on all three, but I bet most exhibitors could share mistakes, so I entered them anyway.
I’ve always had a thing about this town, so much of my family’s history here, and I’ve always lived in the one postcode. In my opinion it would be hard not to be fond of it, so the point of all that was to say that I’m proud to be in the LOCAL show.
Below is the completed quilt I didn’t get time to photograph before submitting it to the show


[ Note my kanzashi flower badge ;) ]
...Not only that, I was excited to be asked to demonstrate how to make kanzashi flowers at the Ripple patch stand by Samantha (of Ripple Patch). Being around her all day further reinforced my belief that she’s such a smart and successful woman. Although her business is “young”, she’s already come so far, and really has her head screwed on. I wish her every success, but she’s going places anyway!

I love teaching people, and the flower kit was really well received! Although with a busy week ahead, I’m thankful I have today to relax.

Today I got a proper chance to begin reading Sunday Morning Quilts by Amanda Jean Nyberg and Cheryl Arkison.
Like, the way an anal person reads a pattern book... every word from the front onwards LOL.
It reminded me that a scrap quilt is more about getting to use those fabric scraps you originally had a big ol’ fabric crush on. I’ve spoken about this a million times, but I got a garbage bag full of fabric given to me up front, and my many pieces of scrap size are not at all my style. This has held me back from scrap quilting in my opinion and I’ve decided to give them away. If anyone is interested, leave me a comment here. I intend to photograph them to share (and maybe even iron them so I can fit more in the post?). It will be completely free.
Otherwise, I’m going to keep the scraps which are my own, and might make something from the book!

Thanks for your company. Hope you had a good weekend too.


PS. Can you believe I was THIS short on my binding, the day the quilts were due? LOL lucky I had more fabric to cut from.

Friday, May 4, 2012

Making easy flannelette PJs that look hard


I was intrigued by how the bottom of flannelette pyjama pants come together with all that detail and no showing seams. So I figured it out, and decided to show you guys how to do it.


I’m so happy with how these came out, I think they look really professional, and encourage anyone to give it a go because it’s one of those things that LOOKS harder than it is!

Materials:
I used about 50cm flannelette across the width of the fabric for my one year old’s pants. Plus a 1.5 inch red homespun cotton across WOF too (looks like piping, but it’s so easy), and elastic/thread etc. So on the right hand side are the pyjamas that were my inspiration and template. (Dino-snores! Cute huh?) I traced them laying flat, right onto a FOLDED edge of my flannelette with my sewline air erasable pen. Try to remember to add seam allowance here, I always forget. Lucky for me they still fit my munchkin.

Cutting:

  • Trace and cut out two ‘legs’ (one for each leg, of course). Remember, if you cut on the fold, you don’t need two front and two back pieces, you’ll end up with a seam up the inside leg only.
  • Also (from the flannelette remnants between the cuts you’ve made), cut a 2 inch strip that is as long as your pants are ‘wide’ (at the bottom edge). And cut another for the other leg edge. I’ll call this the flannelette trim piece.
  • From cotton or satin fabric for the trim: cut a 1.5 inch strip across the width of fabric. (This will be used for both leg/trims, and you'll cut it into two later)

Sewing:

Part one: Prepare the cotton/satin trim by ironing it in half (Right sides out) so long raw edges meet.

Match the raw edges of the trim to the long edges of your flannelette trim piece and sew together. (I’m a patchworker so I tend to use ¼ inch seam out of habit now, that’s what I recommend. You can “chain piece” by sewing both flannelette trim pieces to the cotton trim at once like I have shown here)


Now, you’ll have to trust me on the next step, even if it goes against your gut feeling!

Part 2:

Pin the other raw edge to the bottom raw edge of your pants, with BOTH RIGHT SIDES facing UP and sew.
I know, it killed me to do it this way too, but trust me, it’s right.


Here’s a picture once you’ve sewn it, just so you’ll believe me.


Now fold the trim up and over (so it overlaps the pyjama pants bottom) and you will see it come together....
Now press. Yes, do it. It makes a difference. You can be thankful you don’t have *real* piping to do.


Adjust it til the trim is sticking out at a width that is to your liking, and press the trim up over the pants' bottom edge.

Now ‘topstitch’ the whole thing closed (as close to the cotton trim as your skills will let you). And you’re past the hardest bit!


Part 3:
Lay your two leg pieces right sides together and pin from the top to the crotch area. Sew.


SIDE NOTE: Never mind that my pants-bottoms are not complete in this picture, I did the second step in a different order and thought better of it afterwards

Press seams open, then pull your pants so that the leg seams meet up as below:
Pin and sew.

Trim excess ‘trim’.


I sewed down the bottom edge seam to one side because they seem to do that with kids clothes and sleepwear (and I’m all profesh! LOL). See?

Action shot to make sure they fit before I put elastic in:
Put in elastic with your favourite method, and wait for bedtime!


Thanks for playing with me, I’d love to hear from you if you liked my tute or even gave it a crack!